
[지금 무료] 스프링부트 시큐리티 & JWT 강의 | 최주호 - 인프런
최주호 | 스프링부트 시큐리티에 대한 개념이 잡힙니다., 스프링부트 시큐리티,제가 공부했던 걸 쉽게 설명드릴게요 🙂 스프링부트 시큐리티 github https://github.com/codingspecialist/-Springboot-Security-OAu
www.inflearn.com
위의 강의를 듣고 정리합니다!
🖥️ 환경설정
https://github.com/codingspecialist/Sringboot-Security-Basic-V1
GitHub - codingspecialist/Sringboot-Security-Basic-V1: 스프링 시큐리티 인증, 권한 체크 완료 (JPA, mustache 적용
스프링 시큐리티 인증, 권한 체크 완료 (JPA, mustache 적용). Contribute to codingspecialist/Sringboot-Security-Basic-V1 development by creating an account on GitHub.
github.com
- MySQL DB 및 사용자 생성
create user 'cos'@'%' identified by 'cos1234';
GRANT ALL PRIVILEGES ON *.* TO 'cos'@'%';
create database security;
use security;
- spring tool suite 4 다운
Spring | Tools
spring.io

Spring Start Project 새로 만들고 저렇게 추가해줍니다
- Spring boot DevTools : 소스파일을 수정만 했을때 저장하면 프로젝트가 자동으로 리로딩 된다!
- Mustache : 템플릿엔진, 사용해보고 스프링 웹에 등록해야지 웹과 관련된 어노테이션 사용 가능 , 로직 코드가 없어서(Logic-less templates) 뷰(View)의 역할에 충실하여, 서버와 역할을 분리할 수 있다.
+) 템플릿 엔진은 템플릿의 문법과 데이터(JSON, XML 등)를 이용해서 HTML 문서를 만들어주는 소프트웨어라 이해하면 된다.
+) Springboot 에서는 Thymeleaf 를 적극적으로 밀어주는 것 같다. 하지만 문법이 어렵기 때문에 입문으로 하기에는 쉽지는 않아보인다.
application.yml
application.properties → application.yml로 바꿔준다 !
[코드]
server:
  port: 8080
  servlet:
    context-path: /
    encoding:
      charset: UTF-8
      enabled: true
      force: true

spring:
  datasource:
    driver-class-name: com.mysql.cj.jdbc.Driver
    url: jdbc:mysql://localhost:3306/security?serverTimezone=Asia/Seoul
    username: cos
    password: cos1234

  mvc:
    view:
      prefix: /templates/
      suffix: .mustache

  jpa:
    hibernate:
      ddl-auto: create #create update none
      naming:
        physical-strategy: org.hibernate.boot.model.naming.PhysicalNamingStrategyStandardImpl
    show-sql: true
mustache기본폴더는 src/main/resources/이다.
뷰리졸버 설정 : temlates(prefix), .mustche(suffix) 해준다.
application.yml에서 이부분은 지워도 된다 !
mvc:
    view:
      prefix: /templates/
      suffix: .mustache
왜 지워도 되냐면
→ 유전성으로 등록을 해주면 자동으로 경로가 잡힌다 그래서 필요 x
Controller
controller패키지를 생성하고 IndexController.java 파일을 생성한다.
package com.cos.security1.controller;

import org.springframework.stereotype.Controller;

import org.springframework.web.bind.annotation.GetMapping;

@Controller
public class IndexController {
    @GetMapping({"","/"})
    public String index() {
        return "index";
    }
}
index.html
templates밑에 index.html파일 하나 만들어주세요
<!DOCTYPE html>
<html>
	<head>
		<meta charset="UTF-8">
		<title>
			인덱스페이지
		</title>
	</head>
	<body>
		<h1> 인덱스 페이지 입니다. </h1>
	</body>
</html>
이렇게 설정해줍니다.
→ 프리픽스가 html입니다.
여기서 return "index";하기 때문에 src/main/resources/template/index.mustache 를 찾게 된다 !!
근데 우리는 .html파일을 만들었잖아?
그래서
package com.example.securiy1.config;

import org.springframework.boot.web.servlet.view.MustacheViewResolver;
import org.springframework.context.annotation.Configuration;
import org.springframework.web.servlet.config.annotation.ViewResolverRegistry;
import org.springframework.web.servlet.config.annotation.WebMvcConfigurer;

@Configuration
public class WebMvcConfig implements WebMvcConfigurer{

  @Override
  public void configureViewResolvers(ViewResolverRegistry registry) {
      MustacheViewResolver resolver = new MustacheViewResolver();

      resolver.setCharset("UTF-8");
      resolver.setContentType("text/html;charset=UTF-8");
      resolver.setPrefix("classpath:/templates/");
      resolver.setSuffix(".html");

      registry.viewResolver(resolver);
  }
}
WebMvcConfig 파일을 통해 configureViewResolvers를 override해서 ViewResolvers속성을 재설정해준다 !!!
resolver.setSuffix(".html"); 처럼 설정해준다 !
RUN!!
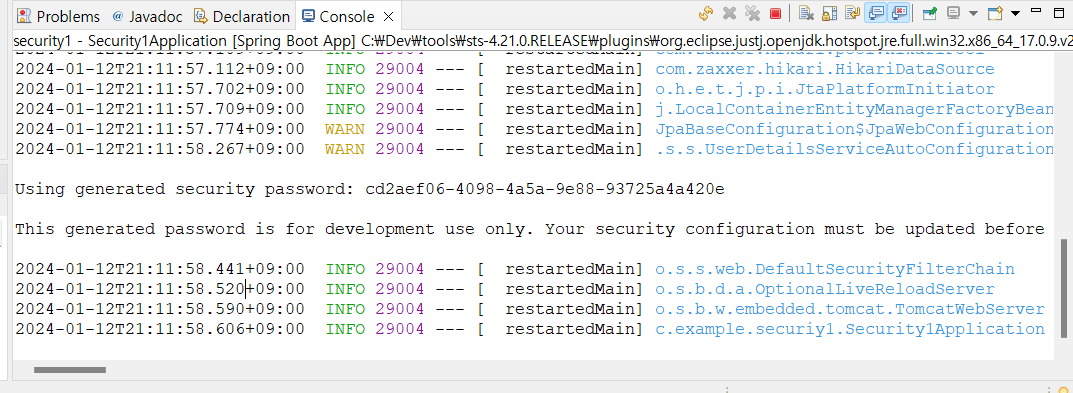
실행하면 중간에 패스워드가 뜬다 !

localhost 8080으로 접근해보면 바로 /login으로 이동한다.
스프링 시큐리티 유전성을 설정하게 되면 홈페이지로 들어갈때 모든 주소가 막혀서 인증이 필요한 서버가 된다
로그인 user,패스워드를 치고 들어가면 index.html이 뜨게된다 !

🖥️ 시큐리티 설정
package com.cos.security1.controller;
import org.springframework.stereotype.Controller;

import org.springframework.web.bind.annotation.GetMapping;
import org.springframework.web.bind.annotation.ResponseBody;

@Controller
public class IndexController {
    @GetMapping({"","/"})
    public String index() {
        return "index";
    }
    @GetMapping("/user")
    public @ResponseBody String user(){
        return "user";
    }
    @GetMapping("/admin")
    public @ResponseBody String admin(){
        return "admin";
    }

    @GetMapping("/manager")
    public @ResponseBody String manager(){
        return "manager";
    }
    @GetMapping("/login")
    public @ResponseBody String login(){
        return "login";
    }
    @GetMapping("/join")
    public @ResponseBody String join(){
        return "join";
    }
    @GetMapping("/joinProc")
    public @ResponseBody String joinProc(){
        return "회원가입 완료";
    }
}
몇개 더 추가해 주었다.
아직까지 page html이 없으므로 @ResponseBody를 추가해준다.
🖥️SecurityConfig
package com.cos.security1.config;

import org.springframework.context.annotation.Bean;
import org.springframework.context.annotation.Configuration;
import org.springframework.security.config.annotation.web.builders.HttpSecurity;
import org.springframework.security.config.annotation.web.configuration.EnableWebSecurity;
import org.springframework.security.web.SecurityFilterChain;

@Configuration
@EnableWebSecurity
public class SecurityConfig{
    @Bean
    public SecurityFilterChain filterChain(HttpSecurity http) throws Exception {
        http.csrf(csrfConfigurer -> csrfConfigurer.disable());
        http.authorizeRequests()
                .requestMatchers("/user/**").authenticated()
                .requestMatchers("/manager/**").access("hasAnyRole('ROLE_MANAGER','ROLE_ADMIN')")
                .requestMatchers("/admin/**").access("hasRole('ROLE_ADMIN')")
                .anyRequest().permitAll()

                //어디로 이동하던지 login 페이지가 뜨도록설정
                .and()
                .formLogin((formLogin)->formLogin.loginPage("/login"));

        return http.build();
    }
}
@EnableWebSecurity : 활성화 필요, 스프링 시큐리티 필터가 스프링 필터체인에 등록된다.
+) 스프링 시큐리티 필터 →SecurityConfig 이걸 말합니다, 이제부터 등록할 필터가 기본 필터 체인에 통보됨
이슈 :
[Spring Security] WebSecurityConfigurerAdapter deprecated 이슈
이렇게 설정하였으나 deprecated되었기에 다른 방법을 적용해야했다!! 결론은 WebSecurityConfigurerAdapter 상속 후, configure 메소드를 오버라이딩 하여 설정하는 방식에서👉 앞으로는 SecurityFilterChain 를
88dldl.tistory.com
👉 앞으로는 SecurityFilterChain 를 빈으로 등록하는 방식을 권장한다는 것이었다.
http.csrf(csrfConfigurer -> csrfConfigurer.disable()); : csrf비활성화
.requestMatchers("/user/**").authenticated() : user/~이런식으로 들어오면 인증이 필요해! .requestMatchers("/manager/**").access("hasAnyRole('ROLE_MANAGER','ROLE_ADMIN')") : 이런권한이 있는 사람만 접근 가능, admin도 코드 맥락 동일
그리고 로그아웃을 하고도
인덱스 페이지 입니다
에 접근 가능한데 그 이유는
.anyRequest().permitAll(); 라고 했기 때문!
.and()
.formLogin((formLogin)->formLogin.loginPage("/login"));
은 어디로 이동하던지 간에 자동으로 로그인페이지로 이동되게 함 !
'Spring' 카테고리의 다른 글
| [Spring Security] 구글 로그인 분리 + 네이버 로그인 (0) | 2024.07.01 |
|---|---|
| [Spring Security] 구글 로그인 (0) | 2024.06.27 |
| [Spring Security] @PreAuthorize, @PostAuthorize, @Secured (0) | 2024.06.25 |
| [Spring Security] 2. 회원가입 및 로그인/ 권한처리 (0) | 2024.06.25 |
| [Spring Security] WebSecurityConfigurerAdapter deprecated 이슈 (0) | 2024.06.25 |